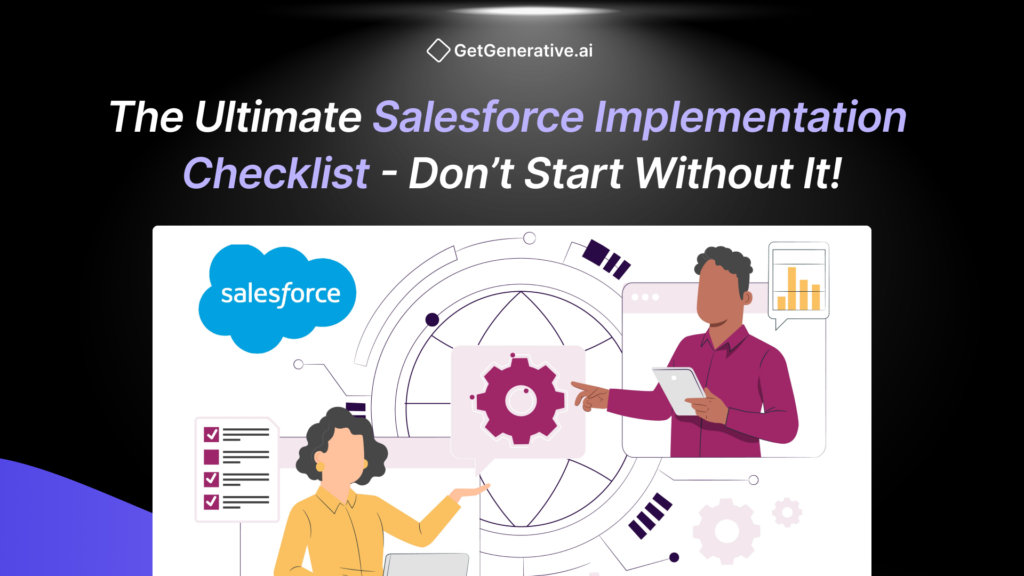
The Ultimate Salesforce Implementation Checklist – Don’t Start Without It!
Studies have shown that CRM implementation failure rates can range from 20% to 70%, often due to unclear goals and inadequate planning.
Successfully implementing Salesforce can be challenging, even for seasoned professionals. The most common reason for failure is not having a comprehensive plan in place.

Source: P&S Intelligence
According to P&S Intelligence, the Salesforce services market is projected to grow from USD 14.1 billion in 2023 to USD 48.3 billion by 2030, with a CAGR of 19.2%.
A well-structured implementation checklist acts as a roadmap, guiding your team through each phase and ensuring that no critical steps are overlooked. With this ultimate Salesforce implementation checklist, you can mitigate risks, enhance efficiency, and ensure a smooth transition to your new CRM environment.
Why Do We Need an Implementation Checklist?
Implementing Salesforce without a checklist is like setting out on a journey without a map. You may have a general idea of where you want to go, but without specific directions, you’re likely to get lost along the way. A checklist helps you avoid costly mistakes, ensures your project stays on track, and allows your team to execute tasks with precision.
Avoid Costly Mistakes
Without a structured approach, Salesforce implementation can become chaotic, leading to errors and wasted resources. An implementation checklist helps you plan every phase meticulously, from defining business objectives to post-launch maintenance. By identifying potential challenges ahead of time, you can take proactive measures to address them.
Boost Efficiency and Performance
A well-planned implementation process minimizes delays and optimizes resource utilization. Instead of constantly improvising and troubleshooting, your team can follow the checklist to complete tasks in an organized manner. This structured approach not only speeds up the implementation process but also improves the final outcome.
Minimize Implementation Risks
Salesforce implementations often fail because businesses underestimate the complexity of integrating new systems with existing processes. An implementation checklist guides you through data migration, customization, integration, and training, reducing the likelihood of errors and helping you achieve a successful rollout.
“Artificial intelligence and generative AI may be the most important technology of any lifetime.”
– Marc Benioff, Chair, CEO, and Co-founder of Salesforce
Step-by-Step Checklist for Implementation Success
Step 1: Define Clear Business Objectives
The first step in implementing Salesforce is defining your business objectives. Understanding what you want to achieve will help you align the platform with your strategic goals and maximize its potential.
Identify Key Success Metrics
Before diving into the technical setup, determine how you will measure success. Whether your goal is to increase sales revenue, enhance customer service, or streamline internal processes, establish key performance indicators (KPIs) that reflect these objectives. This way, you can track progress and evaluate the impact of Salesforce on your business.
Align Salesforce Goals with Business Strategy
Salesforce should not be an isolated tool; it should be seamlessly integrated into your broader business strategy. Make sure that your goals are aligned with the company’s overall vision and mission. This alignment will ensure that every customization and configuration is purposeful and adds value.
Also Read – Salesforce Implementation Showdown: AI vs. Traditional Methods
Step 2: Assemble Your Implementation Dream Team
A successful Salesforce implementation requires a collaborative effort from various stakeholders. Building the right team is crucial to keeping the project on track and ensuring all perspectives are considered.
Key Roles and Responsibilities
Assign specific roles to individuals who will be responsible for different aspects of the implementation. Typically, your team should include:
- Project Manager: Oversees the entire project, coordinates tasks, and ensures deadlines are met.
- Salesforce Administrator: Configures the system and manages ongoing maintenance.
- Business Analyst: Identifies requirements and maps business processes to Salesforce capabilities.
- Data Specialist: Handles data migration, mapping, and validation.
- Developer: Customizes and integrates the platform with other applications.
- Training Lead: Develops and delivers training to end users.
Engage Stakeholders Early On
Involving key stakeholders early in the process helps to ensure buy-in and minimize resistance. Keep them informed and engaged by conducting regular meetings and progress updates. Their insights and feedback will help shape the implementation and foster a sense of ownership.

Step 3: Conduct a Thorough Needs Assessment
Before implementing Salesforce, it’s essential to understand your current processes and where improvements are needed. A comprehensive needs assessment will reveal gaps that Salesforce can fill, allowing you to make informed decisions about customization and integration.
Analyze Current Business Processes
Take a close look at your existing workflows and processes. Identify pain points and inefficiencies that Salesforce could address. This analysis will help you map out how Salesforce should be configured and what features need to be prioritized.
Gather Stakeholder Feedback
Survey your team members and department leaders to understand their pain points and expectations. Their input will give you a well-rounded view of what’s needed and help identify the most critical features to implement. Encourage transparency and honest feedback to gather actionable insights.
“Generative AI has the potential to change the world in ways that we can’t even imagine.”
- Bill Gates, Co-founder of Microsoft
Step 4: Develop a Strategic Data Plan
Data is the backbone of any CRM implementation. Without a well-structured data plan, your Salesforce setup may struggle with inconsistencies and inaccuracies. Establishing a robust data strategy early on will prevent common pitfalls and enhance data accuracy.
Data Cleanup and Validation
Start by auditing your existing data to identify duplicates, outdated records, and inconsistent formats. Clean up your data to ensure accuracy and completeness. Consider using data validation tools to automate some of this process and reduce manual effort.
Data Migration and Mapping
Plan how data from legacy systems will be migrated to Salesforce. Map your data fields and ensure compatibility between your old system and the new CRM. Test the data migration process in a sandbox environment to catch issues before going live. Document your mapping strategy to maintain consistency and reduce errors.
Also Read – Build Agent: Accelerating Salesforce Implementation with AI
Step 5: Create a Robust Change Management Plan
Transitioning to a new system can be daunting for users. A robust change management plan will ensure that your team adapts smoothly and embraces the new platform.
Training and User Adoption Strategies
One of the primary reasons for CRM implementation failure is inadequate training. Develop training materials that cater to different learning styles, including video tutorials, hands-on workshops, and step-by-step guides. Offering role-specific training ensures that users are equipped with the knowledge they need to use Salesforce effectively.
Monitor Change Readiness and User Feedback
After training, continue to monitor how users are adapting to the new system. Gather feedback to identify areas where additional support is needed. Use user adoption metrics to gauge how well the system is being utilized and where improvements may be necessary.
Step 6: Set Up Your Salesforce Environment
A well-organized environment setup is vital for successful implementation. Start by creating a sandbox environment for testing configurations and features before moving to production.
Sandbox Configuration and Testing
Setting up a sandbox environment allows you to test customizations, workflows, and data imports without impacting the live system. Conduct rigorous testing to identify potential issues and resolve them before going live.
Production Environment Setup
Once the sandbox testing is complete, replicate the configurations in the production environment. Make sure to back up your data before finalizing the setup. This ensures that your data remains safe even if unexpected issues arise during deployment.
Step 7: Customize and Integrate Your Salesforce Solution
Customizing Salesforce is essential to tailor the platform to your specific business requirements. Additionally, integrating third-party applications can enhance functionality and create a more cohesive system.
Configure Custom Fields and Workflows
Start by identifying the data points that are most relevant to your business. Create custom fields to capture critical information and build workflows that automate routine tasks. Whether it’s lead assignment, opportunity tracking, or automated email notifications, configuring these workflows will reduce manual effort and boost productivity.
Integrate Third-Party Applications
Salesforce’s versatility comes from its ability to integrate seamlessly with other business tools. Whether it’s marketing automation software, customer support platforms, or data analytics tools, integrating these applications helps centralize your operations. Use Salesforce APIs to link disparate systems and eliminate data silos. This way, your entire tech stack works as one unified system, enhancing data consistency and efficiency.
Step 8: Perform Rigorous Testing
Before rolling out Salesforce to your entire team, thorough testing is essential to ensure that the platform functions as expected. Testing helps identify any bugs, configuration issues, or performance bottlenecks.
User Acceptance Testing (UAT)
Engage key stakeholders and power users in user acceptance testing. This step helps identify gaps in functionality and potential usability challenges. Gather feedback and document any issues that arise, then address them promptly. Involving users in testing not only helps with system validation but also encourages buy-in and adoption.
Performance and Load Testing
Test the system under different load scenarios to assess how well it handles peak usage. Performance testing will help detect any lag or failures, giving you the opportunity to make necessary adjustments before the official launch. Monitor system speed, data processing time, and integration performance to ensure optimal performance.
Step 9: Prepare for Deployment
Once testing is complete and all issues are resolved, it’s time to prepare for deployment. This step involves making sure the environment is ready and all stakeholders are informed.
Finalize Configuration
Double-check all configurations to ensure they match your requirements. This includes user roles, permissions, workflows, and customizations. Document your final setup for future reference and maintenance.
Create a Deployment Plan
A clear deployment plan ensures a smooth transition from testing to production. Include a timeline for switching from the sandbox environment to the live production environment. Make contingency plans to address potential issues during rollout. Communicate the deployment schedule to all stakeholders to minimize disruptions.
Also Read – How to Streamline Salesforce Implementation Without Increasing Costs
Step 10: Launch Your Salesforce Solution
Now comes the exciting part—going live with your Salesforce implementation. An organized and well-executed launch sets the tone for user adoption and system success.
Execute the Go-Live Strategy
Begin the deployment by following your predefined plan. Monitor progress closely and be prepared to tackle any unexpected issues that arise. Keep a dedicated support team on standby to respond to technical challenges and user queries.
Monitor Post-Deployment Performance
Once Salesforce is live, monitor system performance closely. Track key metrics, such as user adoption rates and data accuracy. Identify and resolve any post-launch issues promptly to maintain smooth operations.
Step 11: Provide Continuous Training and Support
Salesforce is a powerful tool, but its effectiveness hinges on how well your team uses it. Continuous training and support will keep users confident and capable of leveraging the platform’s full potential.
Onboarding and Training Programs
Create onboarding sessions for new users and refresher courses for existing users. Provide hands-on training to demonstrate the platform’s features and functionalities. Develop comprehensive training resources, including video tutorials, user guides, and FAQs, to support ongoing learning.
Support and Troubleshooting
Establish a dedicated support team to address technical issues and user concerns. Encourage users to report any challenges they face while using the system. Regularly gather feedback to identify areas for improvement and update training materials as needed.
Step 12: Monitor and Measure Success
To gauge the effectiveness of your Salesforce implementation, it’s crucial to track performance metrics and analyze user engagement. This step ensures that your efforts deliver the desired outcomes and helps you identify areas for further optimization.
Track Key Performance Indicators (KPIs)
Measure metrics such as user adoption rates, sales growth, customer satisfaction scores, and process efficiency. Analyzing these KPIs helps assess whether the CRM implementation is meeting your business goals. Regularly review performance reports to track progress and spot areas where adjustments may be needed.
Conduct Post-Implementation Reviews
Hold review meetings with stakeholders to discuss the results of the implementation. Evaluate what went well and identify any challenges that arose during deployment. Use these insights to refine your approach for future projects and continue enhancing your Salesforce setup.
Step 13: Maintain and Optimize Your Salesforce Instance
Salesforce is not a “set it and forget it” platform. Regular maintenance and optimization are crucial to keeping your CRM functioning effectively and adapting to changing business needs.
Perform Routine Maintenance
Schedule routine system maintenance to keep the platform running smoothly. This includes updating configurations, monitoring data quality, and fixing any reported issues. Stay current with Salesforce updates and new features to enhance performance.
Optimize Customizations and Integrations
As your business evolves, your Salesforce instance must keep pace. Continuously evaluate customizations and integrations to ensure they align with current objectives. Make adjustments as needed to enhance functionality and user experience.
Step 14: Foster a Culture of Continuous Improvement
Encourage your team to continuously optimize their use of Salesforce. Promote open communication about challenges and new ideas to improve the system. Create a culture where feedback is valued, and improvements are welcomed.
Incorporate User Feedback
Periodically gather feedback from users to understand their experience with Salesforce. Use this input to make necessary adjustments and improvements. Listening to users’ perspectives fosters a sense of ownership and increases engagement.
Leverage Advanced Features
Explore advanced Salesforce features and capabilities, such as AI-driven insights and automation tools. Implementing these advanced functionalities will help your team maximize productivity and stay competitive.
Conclusion
Implementing Salesforce is an intricate process that requires careful planning, precise execution, and continuous optimization. With the ultimate Salesforce implementation checklist outlined above, your business can streamline the entire process, reduce risks, and ensure a successful rollout.
Save up to 60% in time and costs on Salesforce Implementation with GetGenerative.ai.
Streamline your entire implementation lifecycle with AI-powered Workspace and Agents—managing every step from Pre-Sales to Go-live, all within Salesforce.
Stay ahead of the curve with smarter, faster, and more efficient implementation.
FAQs
1. What are the most common challenges during Salesforce implementation?
The most common challenges include data migration issues, low user adoption, inadequate training, and integration complications. Addressing these challenges early on with a comprehensive checklist is essential.
2. How long does a typical Salesforce implementation take?
The implementation timeline can vary from a few weeks to several months, depending on the complexity of the project and the size of the organization.
3. What role does data migration play in Salesforce implementation?
Data migration is crucial as it involves transferring existing data from legacy systems to Salesforce. Proper data mapping and validation are necessary to ensure accuracy and completeness.
4. How can I increase user adoption after Salesforce implementation?
Investing in comprehensive training, offering continuous support, and gathering user feedback regularly are key strategies to boost adoption.
5. What should I do if my Salesforce implementation encounters issues post-launch?
Immediately address any technical issues and involve your support team to troubleshoot and resolve problems. Conduct a post-launch review to identify the root cause and prevent similar issues in the future.